Thursday, February 20, 2025

Distress Watercolor Pencils - Tim Holtz

 Hello friends! Today I'm sharing a little information about the Tim Holtz Distress Watercolor Pencil. These pencils are artist grade and very easy to use. I love how they are highly pigmented for rich color. Let's take a look at a few of my favorite techniques.  

COLORING A STAMPED IMAGE
Stamp image with a waterproof ink like VersaFine Clair in Nocturne Black. 
It's important to use a good quality watercolor cardstock I like the Distress Watercolor Cardstock
Color the image with the Distress Colored Pencils
Use a Detail Waterbursh or brush to blend the color out 
Dry between layers
TIP: adding layers will intensify the color 

ADDING SPLATTER TO A BACKGROUND
Spray a little pool of water on to your work surface
Rub the Distress Watercolor Pencil in the pool of water until you have a colored pool
Pick up the colored water with your waterbrush and flick on to your background
Repeat with several colors as desired
TIP: You can mask off places you do not want the splatter (faces, word, etc.)

COLORING THROUGH A STENCIL WATERCOLOR STYLE
Position stencil over Distress Watercolor Cardstock
Color through the stencil with the Distress Watercolor Pencils
Remove Stencil and blend out the color with waterbrush
TIP: Use several colors for the same image, like this flower, to create depth
Be sure to dry between layers 

I love the soft watercolor effect of this technique

WATERCOLOR STAMPING
Wet stamp by misting with water
Color image with Distress Watercolor Pencils 
Gently stamp image on to Watercolor Cardstock 
TIP: If you have excess water carefully blot with soft rag or paper towel
Stamp a second and third generation as desired

I used a text stamp to add a little texture to the background

COLORING PAPER DOLLS
Color Paper doll with Distress Watercolor Pencils 
Blend color out with your Waterbrush
Add more color as desired drying between layers
TIP: Work with a dryish Waterbrush. Wipe off the tip on a paper towel to dry

ADDING SHADOWS AND COLOR TO EPHEMERA
Create a collage using ephemera adhering with Collage Medium 
Do not apply Collage Medium over the top
Color area as desired 
Blend with a Waterbrush
Dry with a heat tool

CREATING A PALETTE FROM SHAVINGS
To create a palette add pencil shavings to each sections 
Add a little bit of water
Stir color and water together
Let dry overnight undisturbed

CREATING BACKGROUNDS WITH SHAVINGS
Add pencil shavings to a piece of watercolor cardstock
Gently mist with water until the shavings start to melt
Dry with a heat tool
Continue adding color as desired
TIP: When shaving the pencil use light pressure and be sure to use plenty of water

BLENDED BACKGROUND
Add a few puddles of water on your glass mat
Color the pencil in to the water until the water is colored 
TIP: The more color you add the darker the color will be
Mono-print you watercolor cardstock in to the colors
Dry with a heat tool
Continue adding layers until you achieve a beautiful background

CREATING A DRY PALETTE OF GOODNESS
Once the Palette is dry you can dip your waterbrush to pick up color and color image as desired. I love the intensity of the colors with this technique. 

COLOR SWATCHING
You can download charts for Tim Holtz products on the Ranger Ink website. I search "Ranger Ink Organization" then look for the product you want to swatch. It's a great way to see what the color is going to look like. 

I hope you will spend some time exploring the world of Distress Watercolor Pencils. They are one of my favorite products to color with.
Thanks for stopping by!
Richele

Here are a few of the products I used. 

Tuesday, February 18, 2025

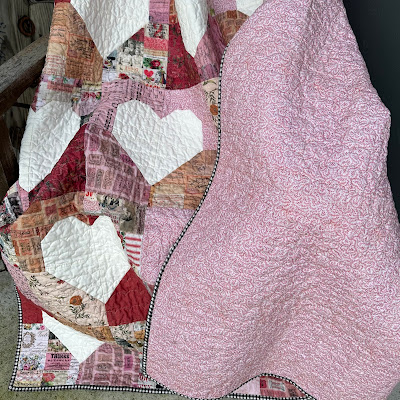
Patchwork Heats Quilt with Tim Holtz Palette Fabrics

Hello friends! What do you think of Palette PINK, RED, and ORANGE fabrics? I love the vintage vibe and how they go together! I decided to make a quilt so I could use all of my favorites. The pattern is by Emily Dennis of Quilty Love. I really enjoy using Emily's patterns, they are easy to follow and she always has some tip and tricks to make your project come together quick and easy. 

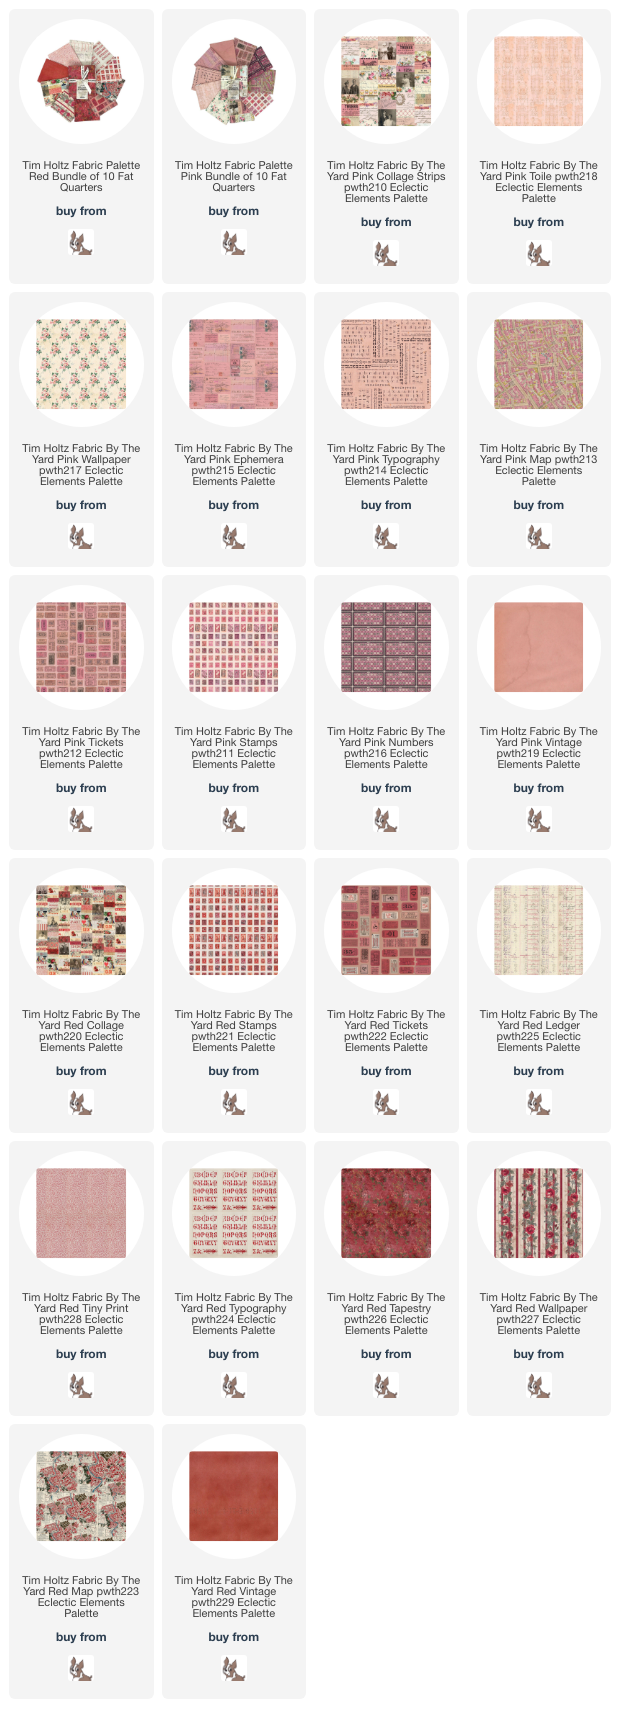
Fabric - Tim Holtz Palette in PINK, RED and ORANGE
PATTERN - Patchwork Hearts II

Backing fabric - Palette - RED Tiny Print

This quilt is Fat Quarter friendly and goes together quick. I love how cozy it is. 
Thanks for stopping by!
Richele

See the Palette collection of fabrics here. 
 

Thursday, February 13, 2025

Fun Fabric Cards with the Tim Holtz Palette Fabrics

Hello friends! I'm sharing some fun fabric cards over on the Simon Says Stamp Blog. I hope you will pop over and see how easy they can be. I really love the texture fabric adds to cards. and the stitching is fun too. 


You don't have to be an expert sewer to create with fabric! 
I hope you will try adding some fabric and stitching to your next project. 
Thanks for stopping by!
Richele 

Links for the fabrics I used are below. 

Tuesday, January 14, 2025

Tool Organizer using Tim Holtz Palette Fabric

Hello friends! I hope your year is off to a great start. I've been doing a lot of sewing with the new Tim Holtz Palette fabrics from FreeSpirit Fabrics. I love the vintage vibe of the fabric and the colors coordinate so well with each other. 
I will be creating several projects each month so check my 
Instagram @caliARTgirl to see all the projects. 

So many of you wanted to know how I made this beautiful Tool Organizer so here we go. 
This project is Fat Quarter friendly and I used both the Pink and Red Palette collection. 

SUPPLIES NEEDED
Red and Pink Palette Fabrics
Soft and Stable (or batting)
Fusible interfacing
Optional - Felt, buttons, red pearl cotton
Basic sewing supplies and sewing machine 

CUTTING LIST
Inside 
Red Ledger:  1 - 17" x 11"  (lining)
Red Tiny Print: 1 - 17" x 6 1/2"  (inside pocket)
Any print for the inside 1 - 17" x 6 1/2"  (pocket lining) 

Binding and ties
Red Tapestry: 2" x WOF  (binding)
1 - 1 3/4" x WOF  (ties)
If using a fat quarter you'll need to double the amount of cut strips 
 
Outside
Pink and Red prints: 1 - 2 1/2" x 2 1/2" 
total of 40 squares (2 of each print)

Fusible Interfacing for inside pocket
1 - 17" x 6 1/2" 

Soft and Stable or Batting
1 - 17" x 11" 

OK lets get started!

OUTSIDE COVER
1. After cutting all the pieces layout the square as desired for the outside. 
You will need 5 squares tall and 8 squares wide for this project 

Finished size will be approximately 10 1/2" x 16 1/4" 
2. Sew all the squares together with a 1/4" seam allowance. Press 

3. Create a quilt sandwich with the Red ledger, Soft and Stable and 
the squares that you sewed together. Quilt as desired. 

4. You can see I used a diagonal grid for this project. 
Trim off the excess batting and backing. 

INSIDE POCKET
5. Creating the pocket - Press the fusible interfacing to the Tiny Print piece. Lay the pocket pieces out as follows. (Pocket Lining will be wrong side up and then Red Tiny Print will be right side up lining up the edges) Pin together to prevent slipping. Add binding to the top edge sewing to the back side then wrapping to the front. Top stitch on the front of the pocket. 

6. Pin the pocket to the inside of the cover. Use a Hera Marker or similar to draw the stitching lines for the pockets. Sew from top to bottom creating the pockets for your tools. To mark the the lines draw a line down the center measure out from the center 3" and 1 1/2" and 1 1/2" and that leavers a 2" pocket on the outer edge. 

BINDING 
7. Sew binding strips end to end. Fold in half length wise and press in half. Stitch binding on as you would for a quilt. fold over and hand stitch down. 

THE TIE
8. Fold tie strip in half lengthwise and press. Open the fold the edges to the center and press. Fold in half again and press. Topstitch 1/8" from the edge. Fold in half to find the center on the tie. Pin to the center of the cover on the outside. 

EMBELISHMENTS
Optional: 9. Die cut or cut out a heart from felt. Using a blanket stitch sew the Heart to the cover of your organizer. Be careful not to go through all the layers when sewing so your pocket is still functional. 

10. Add a few Mother of Pearl Buttons to complete the look. 

Add your tools to the organizer. Fold in half and tie with a bow. 

You can also fold the edges in to create a smaller organizer. 

I hope you will try to make something with these beautiful fabrics. 
Thanks for stopping by! 
Richele

Here are the links to the Tim Holtz Palette fabrics at Simon Says Stamp
Friday, September 13, 2024

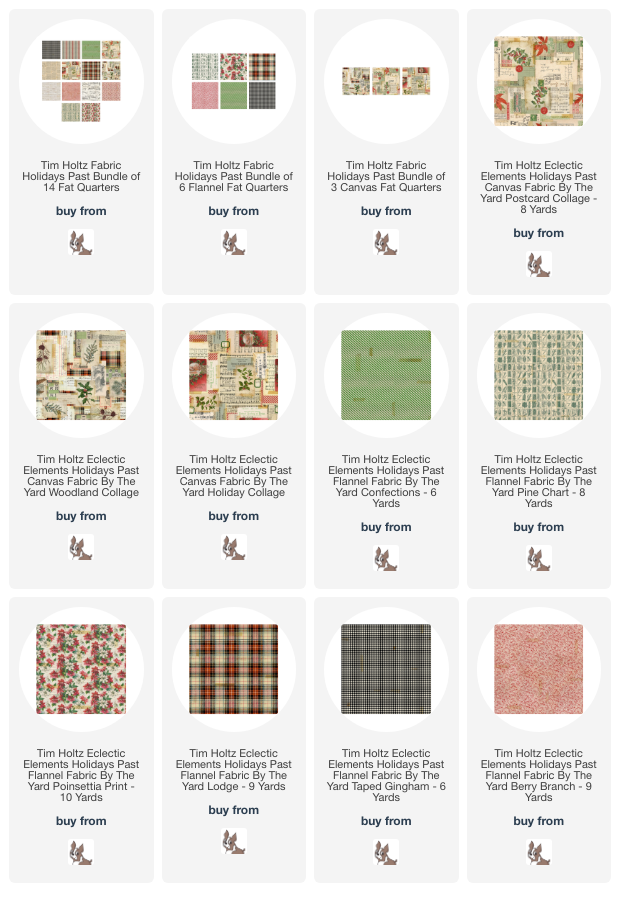
Holidays Past fabric collection from Tim Holtz

 Hello friends! I'm back today with my makes using the Holidays Past fabric collection from Tim Holtz and FreeSpirit Fabrics. I love this collection, there is so many different print and finishes to choose from. The quilting cottons are so lovely, the flannels are so soft and the canvas cloth is gorgeous. 

I made a variety of project from decor pieces, bags and totes, clothes and even some slippers.

Tree Skirt - Pattern by Gotham Quilts

Christmas Barn Quilt Pillow - Pattern by Wendy Sheppard

All Things Tote - Pattern by Knot and Thread 
Christmas Tree Bag - Reverse Appliqué 

Children's PJ's and Slippers - 
PJ Pattern Simplicity #1573
Honey Bunny Slippers Pattern by Sewcial Mama Designs

Children's Dress - Pattern Simplicity #9245

Tim's Shirt - Overlay on a purchased shirt

Noel Card - Sizzix VAULT Seasonal Sketch die set

What will you make? 

The Holidays Past Collection is in stores now and also at Simon Says Stamp!

Saturday, August 10, 2024

Halloween LABORATORY fabric release

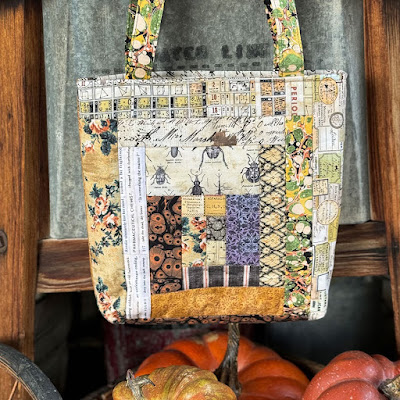
 Hello friends! I'm back today with my makes from the Tim Holtz LABORATORY release with FreeSpirit Fabrics. The fabrics are a great mix for fall and they can be used for more than just Halloween. There is 3 designs of Canvas Cloth and 14 quilting cotton fabrics to choose from. Let me show you what I made. 

Here are a few bags I made with the Canvas Cloth. The Canvas is very soft and easy to use. 

I hope you're inspired to make something from fabric. 

PATTERN - Mini Patchwork Duffle by Knot and Thread 
Photo by Tim Holtz

PATTERN - All Things Tote by Knot and Thread
Photo by Tim Holtz

Kaitllyn does a beautiful job with her patterns, they are very easy to follow. 

PATTERN -Sotak Patterns
Photo by Tim Holtz

Photo. by Tim Holtz

Wonky Log Cabin Block Pillow
Photo by Tim Holtz

Wonky Log Cabin Block - Trick or Treat Bag
Photo by Tim Holtz

Wonky Log Cabin Block - Table Runner
Photo by Tim Holtz

Wonky Log Cabin Block - Quilt 
Photo by Tim Holtz

Mixed Media Card
Photo by Tim Holtz

Thanks so much to Tim Holtz for the beautiful photos of the makes and for designing gorgeous fabric to create with! 

Thanks so much for stopping by!
Richele

Simon Says Stamp now carries Tim's fabric by the yard! So excited for this, thanks Heidi! 
Here are the links below for the fabrics. 

Saturday, June 15, 2024

NEW Distress Spritz by Tim Holtz

 Hello friends! Drumroll please. The NEW Distress Spritz by Tim Holtz are here. 

When I opened the box I was ready to dive in and see what they would do. First I did some swatching, then some coloring and finally some backgrounds. The shimmer is like no other sprays I've tried. 

They are pretty amazing! The pearl is like no other product i've used. 

Here's a peek at some of the finished cards I made. 

Swatching is so useful when it comes to a new product. I used Watercolor cardstock for my swatches. Each color swatch has the Spritz and the Spritz over the corresponding color. 

COLORING A STAMPED IMAGE
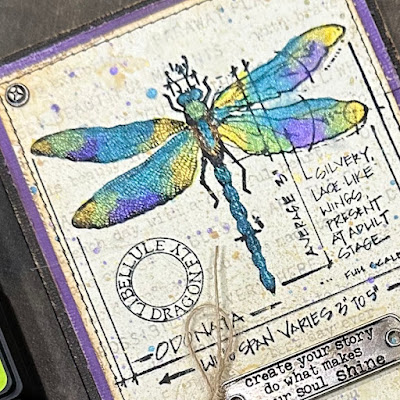
I first stamped with Archival Ink using a Stamping Platform. This is important because I want to stamp over the image once I have colored it. So being able to reposition it after coloring is important. I colored the dragonfly image with Distress Ink using a Waterbrush. 

Next I colored over the same color with the Distress Spritz. The spray if very fluid and easy to use. Shake the Spritz well and then spray some on to your work surface. Pick up the Spritz with a Waterbrush and paint over the same color. Dry with a heat tool between layers. 

Stamp the image again to bring the detail back. I only inked the dragon fly agin.

I added a little splatter in the background with what was left on my work surface. 

Look at all that shimmer!

Another sample of coloring.


STAMPING WITH DISTRESS SPRITZ
I wanted to see if you could use the Spritz on a stamp. First stamp the image with Distress Ink and a little spray of water. The water will give it a watercolor effect. Now paint the stamp with the same color of Distress Spritz and stamp over the ink. I love how the Distress Spritz adds a layer of sparkle. 

BACKGROUNDS
Just look at those amazing colors. I sprayed Distress Spray Stain first and the added the Distress Spritz over the top. I added a little water on top to make sure the colors blended well. 
I wish you cold really see how shimmery it really is. The photo doesn't do it justice. 

and I had to experiment with black cardstock too. Over the black cardstock I only used the Distress Spritz, there is no ink underneath. 


12 DISTRESS SPRITZ COLORS
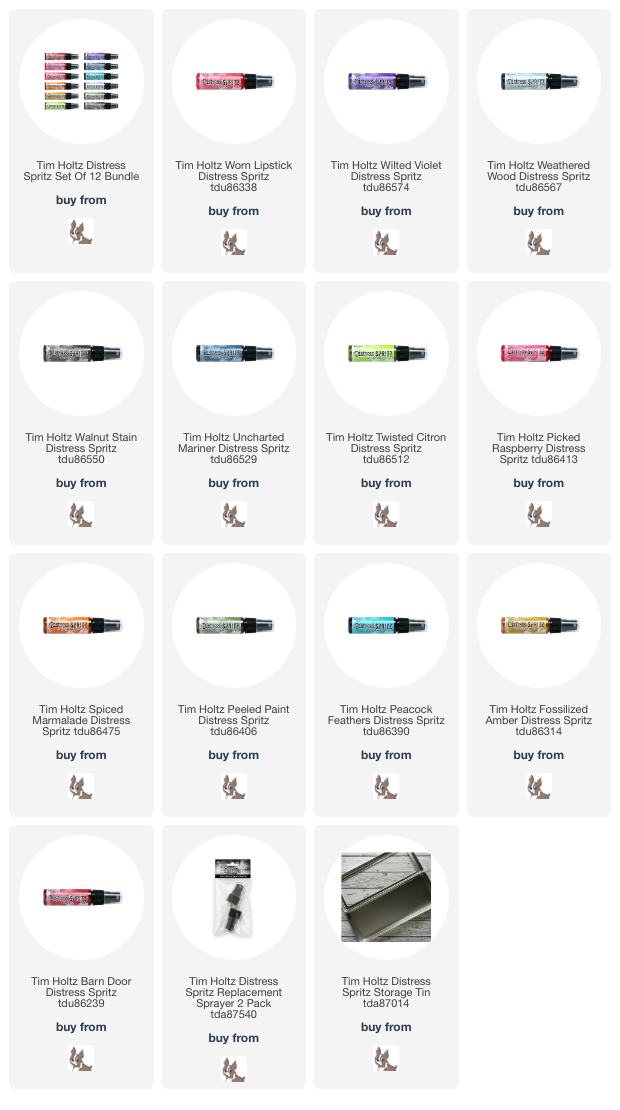
Worn Lipstick
Picked Raspberry
Barn Door
Spiced Marmalade
Fossilized Amber
Twisted Citron
Peeled Paint
Peacock Feathers
Weathered Wood
Uncharted Mariner
Wilted Violet
Walnut Stain

DO YOU HAVE A FAVORITE COLOR?

I can't wait to play more, the possibilities are endless. 
Thanks for stopping by!
Richele

See the whole collection of Distress Spritz below