Hello friends!
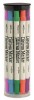
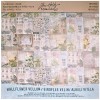
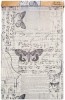
Today is all about Tim's new Wallflower Vellum. I'm in love all over again! The designs are from the Wallflower Paper Stash. I love how sheer it is and the printed design will add a little texture to whatever you create.
Sometimes when new product comes I feel like Inspector Clouseau…what if I…maybe I can… and then there is the happy accident.
My happy accident is that you can use Distress Stain or Ink on the back side of the vellum to color it.
Here is the vellum! Think of all the possibilities.
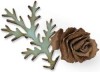
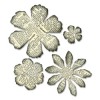
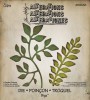
To make our flowers, die cut the vellum using the Tattered Flower Garland Decorative Strip, Tattered Florals Bigz die and Garden Greenery Bigz die.
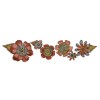
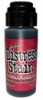
Color the die cut pieces with Distress Stain. You can see on the left the stain just beaded up on the surface. But if you work on the backside of the vellum the Distress Stain work beautifully. As you wet the flowers with the Stain the flowers it will begin to crinkle up. Another happy accident!
Dry the flowers with a heat tool.
Stack the flowers up from smallest to largest and insert a brad in the center. Keep the prongs of the brad straight while you continue to work with the flower. This will help you hang onto them.
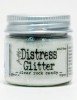
Press the flower into the Distress Embossing Ink pad. Sprinkle with Clear Embossing Powder and shake off the excess.
The powder will be some what random. This is perfect.
Look at how the Vellum flowers turned out!
Create several flowers of varying sizes and set aside.
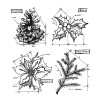
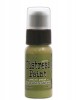
Color some leaves from the Garden Greenery Bigz die using Distress Stain.
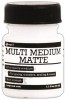
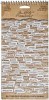
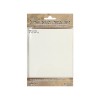
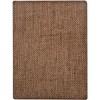
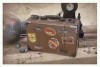
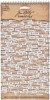
Tear a piece of Tissue Wrap for the front of the Burlap Panel. Paint the Panel with a generous coat of Multi Medium.
Adhere the Tissue Wrap to the front of the Burlap Panel. Paint over the top of the Tissue Wrap with Multi Medium just like you would decoupage something and let dry.
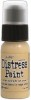
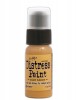
Add a little color to the background with Distress Paint. I love the way Distress Paint can be translucent when you use a thin coat.
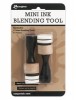
After the Distress Paint dries add some Distress Ink with an Ink Blending Tool to the edges of the panel.
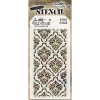
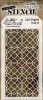
Position your Layering Stencil on the edges of the Burlap Panel then add some spritzing with Distress Marker and the Distress Spritzer.
It's all about the layers!
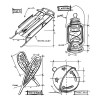
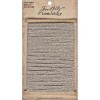
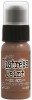
Color your Crinkle Ribbon by applying Distress Stain directly to your Craft Sheet and spray the Crinkle Ribbon with water. Pick up the stain with the ribbon. Repeat to add more color as desired.
Dry with a heat tool scrunching the ribbon as it dries.
Tie the Crinkle Ribbon around the canvas with a big bow.
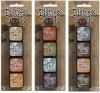
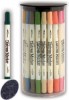
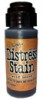
Using a sanding grip sand the face of the Letterpress letters. Color the Letters with Distress Stain and let dry. Lightly ink the edges with Walnut Stain Distress Ink on an Ink Blending Tool.
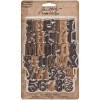
Paint the Botanical Adornments with Distress Paint, let partially dry and wipe of excess paint with a dry cloth revealing the metal on the raised areas.
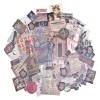
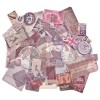
Adhere pieces of Thrift Shop Ephemera to the panel. Because the ephemera is vellum you can see the burlap through the piece. Love this!
Adhere the Letterpress blocks and choose some ChitChat to create a verse. Ink the edges of the ChitChat, adhere to the panel, paint over with Multi Medium and let dry.
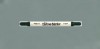
Once the ChitChat is dry draw around the words with a Black Soot Distress Marker and smudge it with your fingers.
Adhere the flowers, leaves and a few more pieces of Thrift Shop Ephemera tucked in behind the flowers.
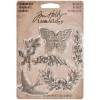
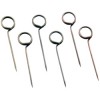
Adhere the Butterfly Adornment to a Memo Pin and add to the Burlap Panel.
What do you think of the new Vellum now?
AMAZING!!
Are you thinking of what you will create?
Have you seen these inspirational projects….
Thanks for stopping by!
Richele
Here's the crafty things I used for this project!